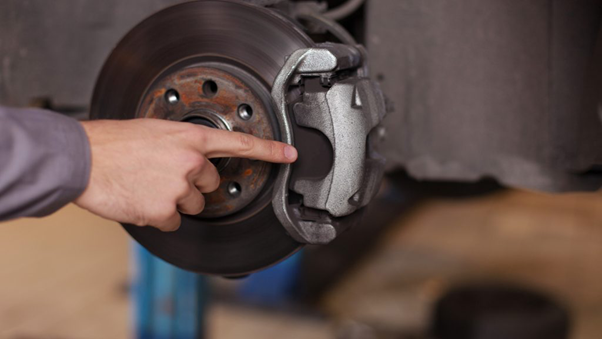
Replacing Your Car's Brake Shoes: An Easy Step-by-Step Guide

Today, many cars boast shiny disc brakes, but some still rely on the trusty old drum brakes, especially in older models. So, if you find yourself needing to replace your car's brake shoes, fear not! We've got you covered with this easy-to-follow guide.
Understanding Drum Brakes vs. Disc Brakes
So, what's the deal with drum brakes? Well, they work a bit differently from those flashy disc brakes. While both types use hydraulic pressure to stop your car, drum brakes use these nifty little brake shoes that press outwards against a spinning drum. It's like giving your car a friendly hug to slow it down!
How to Replace Your Car's Brake Shoes
Alrighty, let's dive into the fun part – replacing those brake shoes! Here's what you'll need:
Tools You'll Need:
- Car jack
- Jack stands
- Oil pan
- Flat-head screwdriver
- Pliers
- Brake cleaner
- Brake assembly tools
- Start by parking your car on a nice, flat surface and saying goodbye to the handbrake.
- Loosen up those lug nuts on the wheels you're working on.
- Whip out your trusty car jack and give the rear side of your vehicle a little lift.
- Pop those jack stands underneath and gently lower your car down onto them.
- Off with the tires and wheels – they need a little break anyway!
- Say goodbye to the brake drum, and if it's being stubborn, a friendly tap with a hammer should do the trick.
- Slide an oil pan under the wheel assembly to catch any crumbs that fall.
- Give the brake assembly a good scrub with some brake cleaner, especially in those nooks and crannies.
- Use your pliers to gently unhook those springs connecting the brake shoes. They're like little springs of joy!
- Take out any pins or screws holding the brake shoes in place.
- Let go of the brake cable retainer clip – it's had a good run.
- Spread a little brake lubricant on the backing plate – it's like giving it a mini spa day!
- It's time to give those new brake shoes a warm welcome by installing the parking brake clip and lever.
- Add the adjusting screw assembly and spring to the shoes – they're the life of the party!
- Slide the shoe assembly onto the backing plate, using shiny new pins or washers.
- Pop those tension springs back on, starting from the bottom and working your way up.
- Clip the return spring back where it belongs – it's like reuniting with an old friend!
- Use the adjuster screw to give the shoes a little stretch.
- Give the brake drum a good cleaning before popping it back on – it deserves to shine!
- Reinstall the wheel and tire, and tighten those lug nuts by hand.
- Lift your car with the jack, remove the jack stands, and gently lower your car back down.
- Finish tightening those lug nuts – they like to be snug!
- Give your brake pedal a few friendly pumps to get that hydraulic pressure flowing again.
- And finally, take your car for a little test drive – it's time to hit the road!
With these simple steps, you'll have those brake shoes replaced in no time, ready to keep you rolling safely on your next adventure! And remember, if you ever need a helping hand, a friendly mechanic is just a call away.